One-Stop Netgear Orbi Setup Guide You’ll Need
Learn key steps to setup Orbi router in no time
Netgear Orbi Router Setup Process in Detail
Step-by-Step Instructions for Orbi Setup, orbilogin.com, Satellite Sync & More
Whether you are unpacking a brand new Netgear Orbi device or you are reconfiguring an existing system, the key to getting the most out of your Orbi router is to get it set up right out of the box. A well-configured Orbi mesh Wi-Fi system provides full coverage and prevents dead zones, ensuring that every device in your home is connected at incredibly fast speeds.
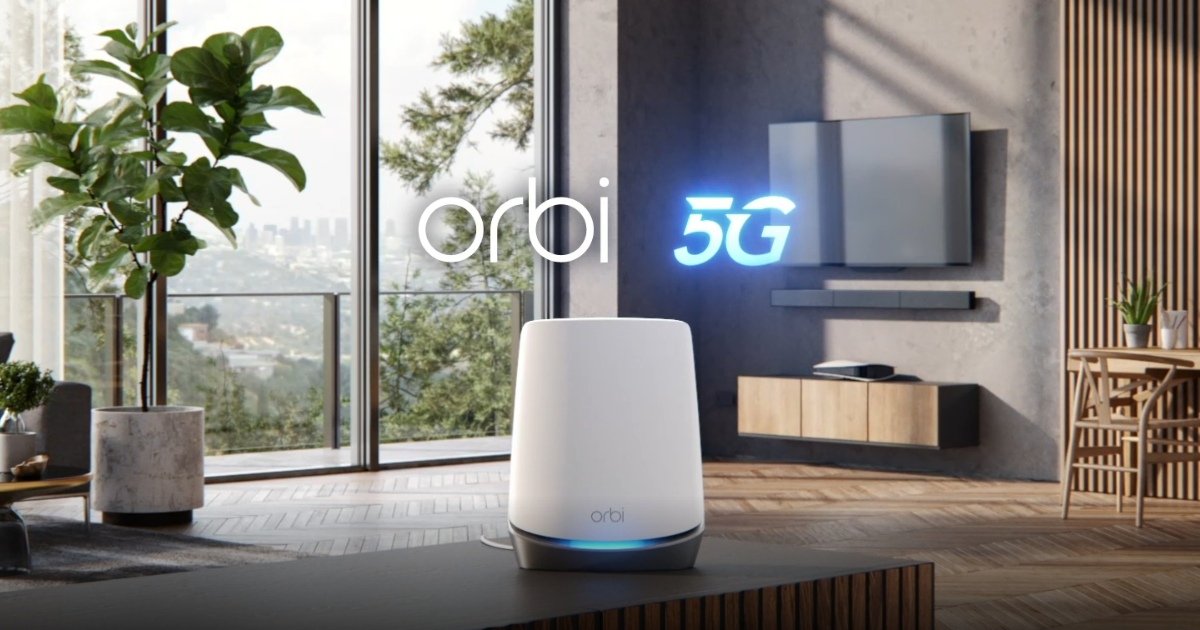
This page provides everything you need to know, from the very first hardware connection to the latest configuration options using orbilogin.com, for all of the most popular Orbi models, including the Orbi WiFi 6, the Orbi AC3000, the Orbi RBK50, the Orbi RBR50, the Orbi RBR750, and much more.
Things You’ll Need for the Setup
Before you start with the setup of Orbi devices, you will need to ensure that you have all these devices ready:
- Netgear Orbi Router
- Orbi Satellite device (may be more than one)
- Yellow Ethernet cable
- Existing modem
- Power supplies for Orbi Router and Satellite devices
- Smartphone or tablet with iOS or Android operating system OR a laptop/PC with a web browser
- Active internet connection through ISP
Important: For the initial setup, it is recommended to put your Orbi router near your modem, at a distance of about 6 feet. After the initial setup, the router can be moved to the desired location. Satellites must be placed at a distance of about 3-4 rooms away from the main router, not too close, not too far.
orbilogin.com Setup Process: Everything You Need to Know
The specific URL for accessing your Netgear Orbi router’s admin interface is orbitlogin.com. This is the central hub for your entire Orbi system, from the initial setup to advanced settings, firmware upgrades, parental controls, and security options.
How to Access orbilogin.com
Make sure that your device is connected to the Orbi Wi-Fi network and not to the Internet Service Provider (ISP) or any other Wi-Fi.
- Open a web browser and go to orbilogin.com.
- If the site doesn’t load, go to: http://192.168.1.1.
- The Orbi login screen should display on the screen. Enter your username and password.
Note: Change the default password after the first login to ensure the security of the device.
What You Can Do Inside the Orbilogin.com Dashboard
- Change your Wi-Fi network name (SSID) and password
- View all connected devices
- Set up a guest network
- Implement parental controls
- Manually or automatically update the firmware of your Orbi router
- Change the operating mode of your Orbi router (Router Mode or AP Mode)
- Set up Port Forwarding
- Set up VPN
- Manage Quality of Service
- Perform internet speed tests
- View the sync status of your satellites and the strength of the connection
How to Setup Orbi Router: Step-by-Step Guide
There are two main methods to finish your Netgear Orbi router setup. The first is using the Orbi mobile app, which is recommended for beginners, while the second is using a web browser to access orbilogin.com, which is recommended for advanced users or those without a smartphone.
Method 1: Orbi Setup Using the Orbi App (Recommended)
- Take out the Orbi router and satellite devices from the box. Check all the accessories.
- Turn off your modem and detach it from the power source.
- Using the yellow cable provided with the router, attach one end to the router’s yellow “Internet” port and the other to your modem’s “Ethernet” port.
- Turn on your modem and wait for 2 minutes to let it restart completely.
- Turn on your router, press the “Power” button, and wait for the LED ring to turn solid white. This may tak
- Do not turn on the satellites.
- Look for “NETGEAR Orbi” on your iOS or Android device’s App Store or Google Play Store.
- Download and install the free Orbi app.
Steps to Setup the Orbi network
- Launch the app. Tap on “Set up an Orbi.”
- Login to your existing or a new MyNETGEAR account, which is free.
- The Orbi app will ask you to scan the QR code on the sleeve or base of the router.
- Grant the camera permission and scan the code. You will be asked to tap Continue.
- Your phone will be asked to connect to the Orbi default Wi-Fi network. The SSID and password are on the router label.
- Once the router is connected and the app has confirmed that everything is set up, you can plug in your Orbi satellites in different rooms.
- Place your Orbi satellite halfway between your Orbi router and the areas where you have a weak Wi-Fi connection.
- Wait for the LED on each of your Orbi satellites to settle before you start using them.
LED Colour Meaning:
- Solid Blue: Excellent Connection
- Amber: Fair Connection – Consider Moving the Device
- Magenta: No Connection – Device Cannot Reach Router – Move Closer
- In the Orbi app, set a unique Wi-Fi network name (SSID) and password.
- Set a strong admin password, which should differ from your Wi-Fi password.
- Provide answers to two security questions to facilitate account recovery.
- If required, install any available firmware update directly.
Method 2: How to Setup Orbi Router via Browser (orbilogin.com)
Alternatively, if you like to use the browser method or you don’t have your smartphone nearby, you can use the entire process of Netgear Orbi setup using orbilogin.com or the router’s IP address 192.168.1.1.
- The hardware connection process is the same as Step 1 of Method 1 above. Connect your Orbi router to your modem with an Ethernet cable. First, turn on the modem, then the router. Wait for the LED to turn solid white.
- On your laptop or PC, go to Wi-Fi settings.
- Find the default Orbi Wi-Fi network name, which is printed on the label of your router.
- Join the network using the default Wi-Fi password printed on the label.
- Launch any web browser of your choice, such as Chrome, Firefox, Safari, or Edge.
- Then, type orbilogin.com or 192.168.1.1 in the address bar.
- After typing, press Enter on your keyboard. The Orbi setup screen will load.
- If the orbilogin.com website does not load, you can try using the alternative 192.168.1.1. You can clear the cache if you encounter the login error.
- You need to accept the Terms of Service.
- The router will automatically identify the type of internet connection you have. If this does not happen, you need to manually enter the type of connection you have from your ISP (Dynamic IP, PPPoE, or Static IP).
- You need to go back to the “Setup Orbi Satellites” page and plug in the satellites as prompted.
- You need to create the password for the admin account and the security questions.
- Now, you can customize the name and password for the network.
- You need to update the firmware if prompted.
- Click on the Finish button, and you have completed the setup of the Orbi router using the browser.